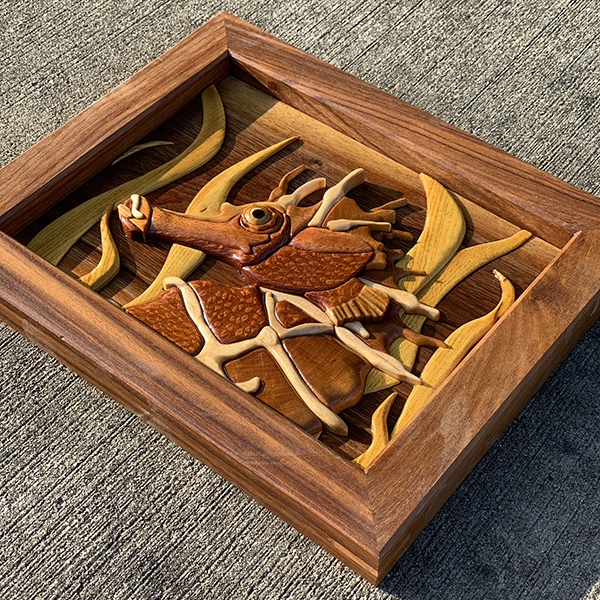
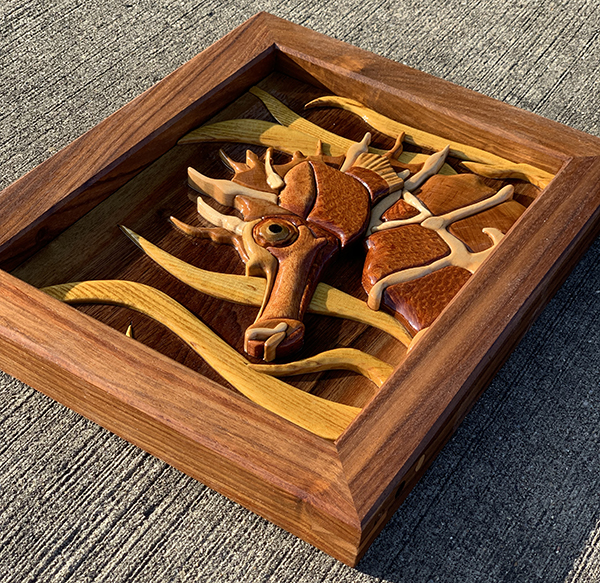
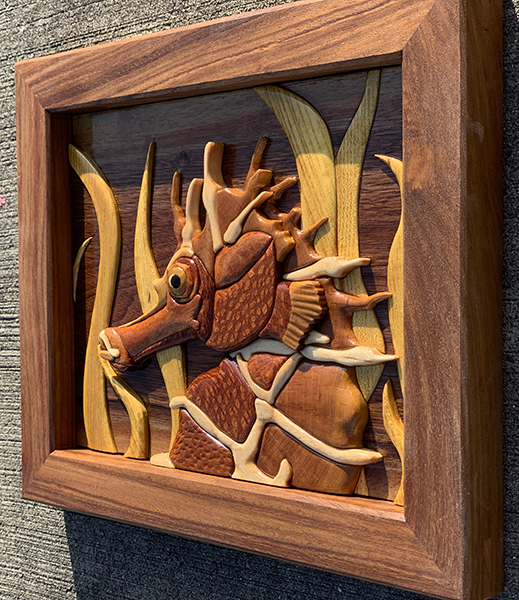
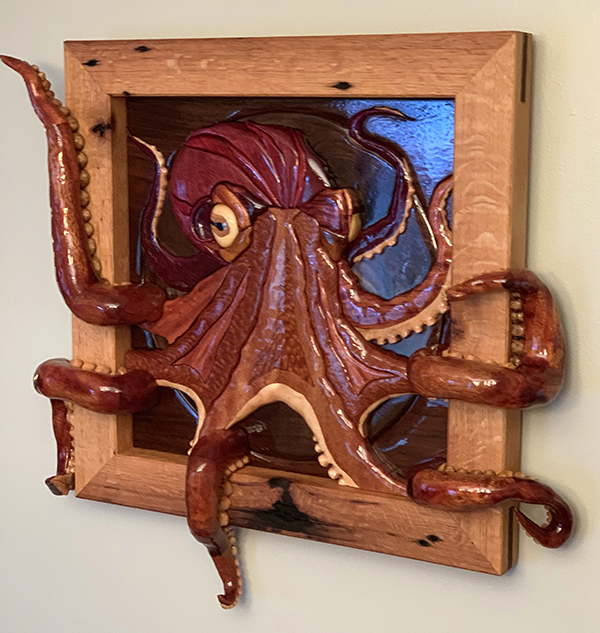
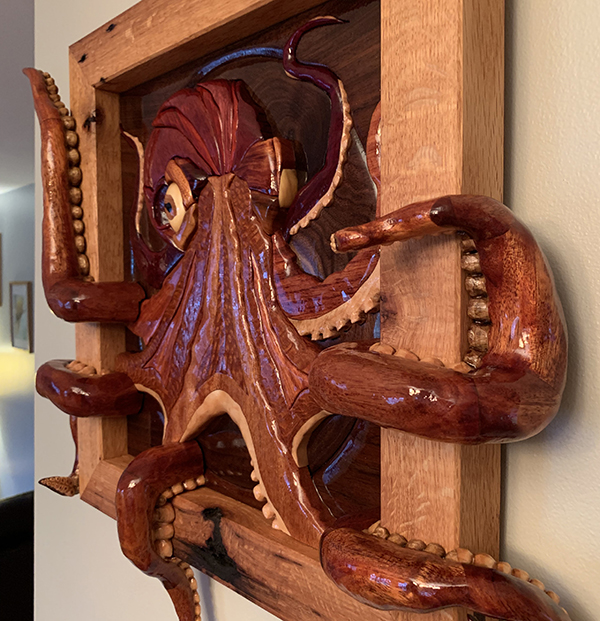
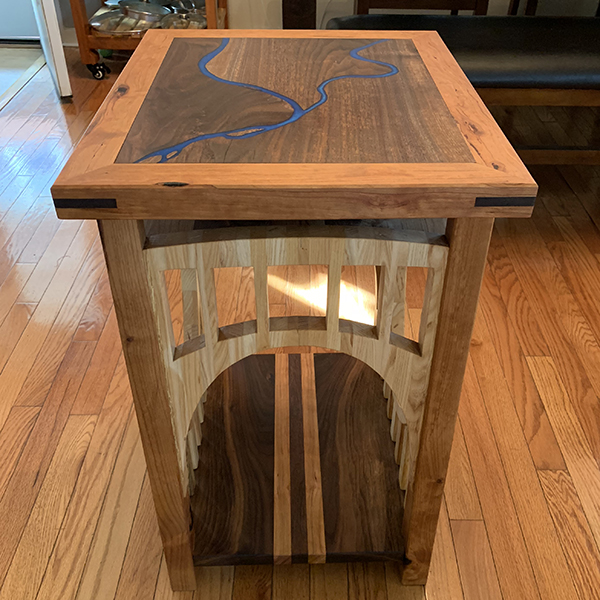
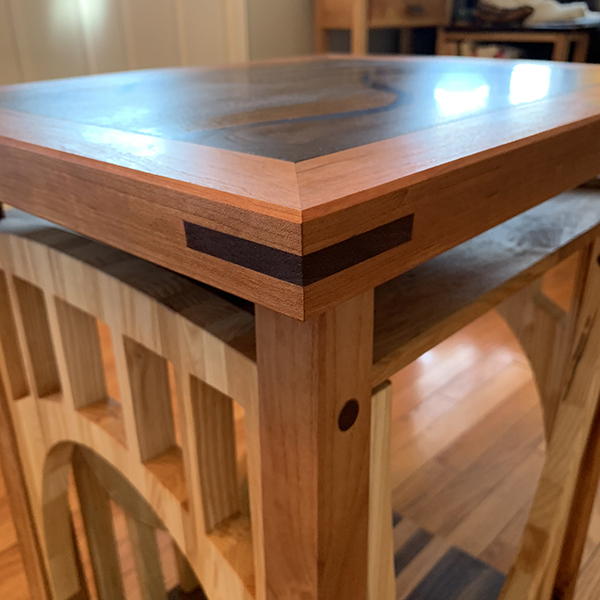
Spinners, Daniel D. Brown, 2019
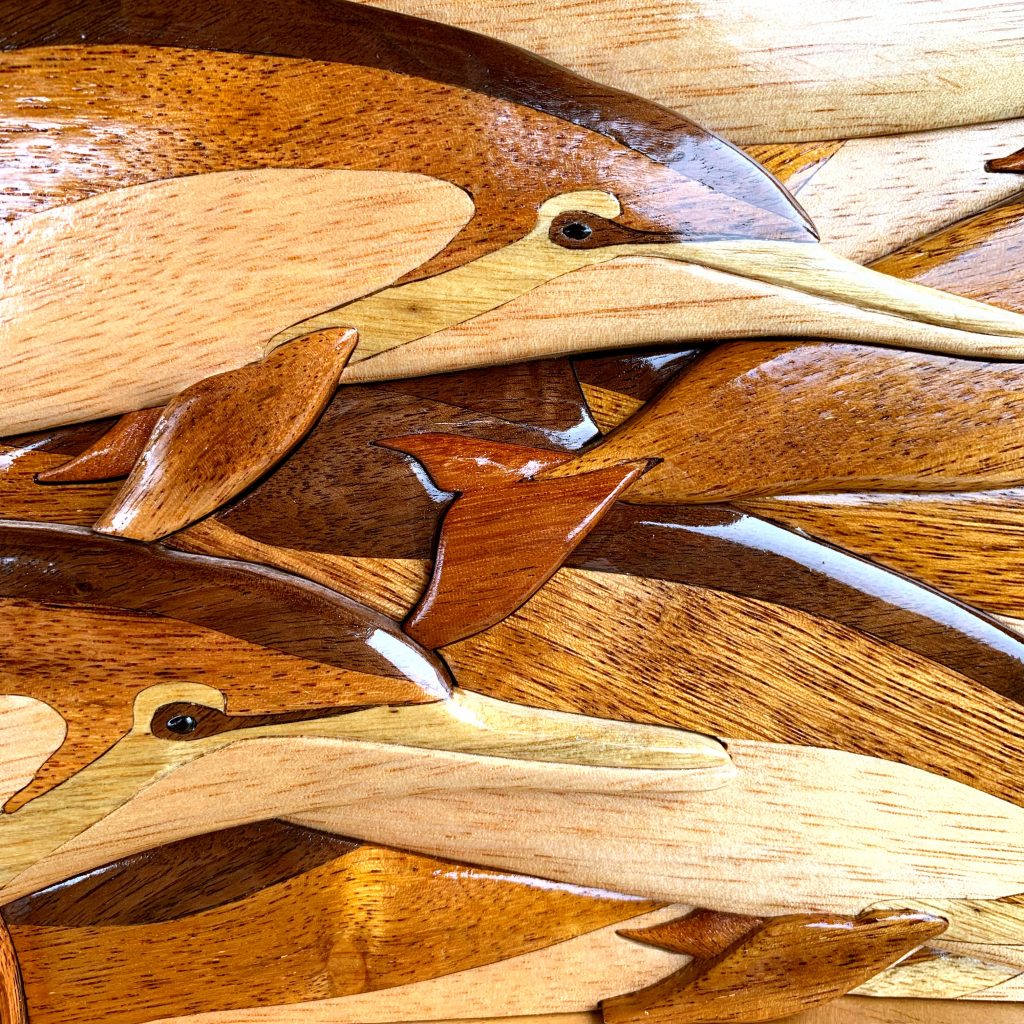
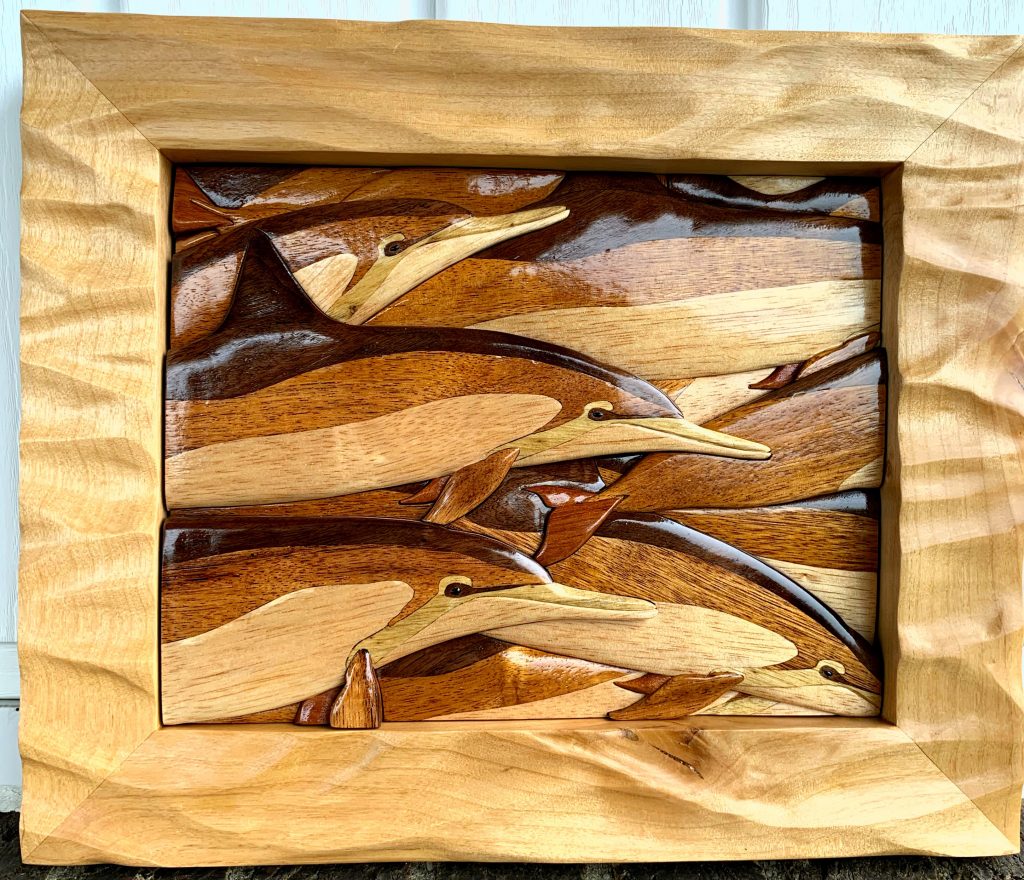

My latest wood intarsia artwork and first project of the new year is complete! The design and coloration pattern is very roughly based on spinner dolphins, though the actual color obviously is not.
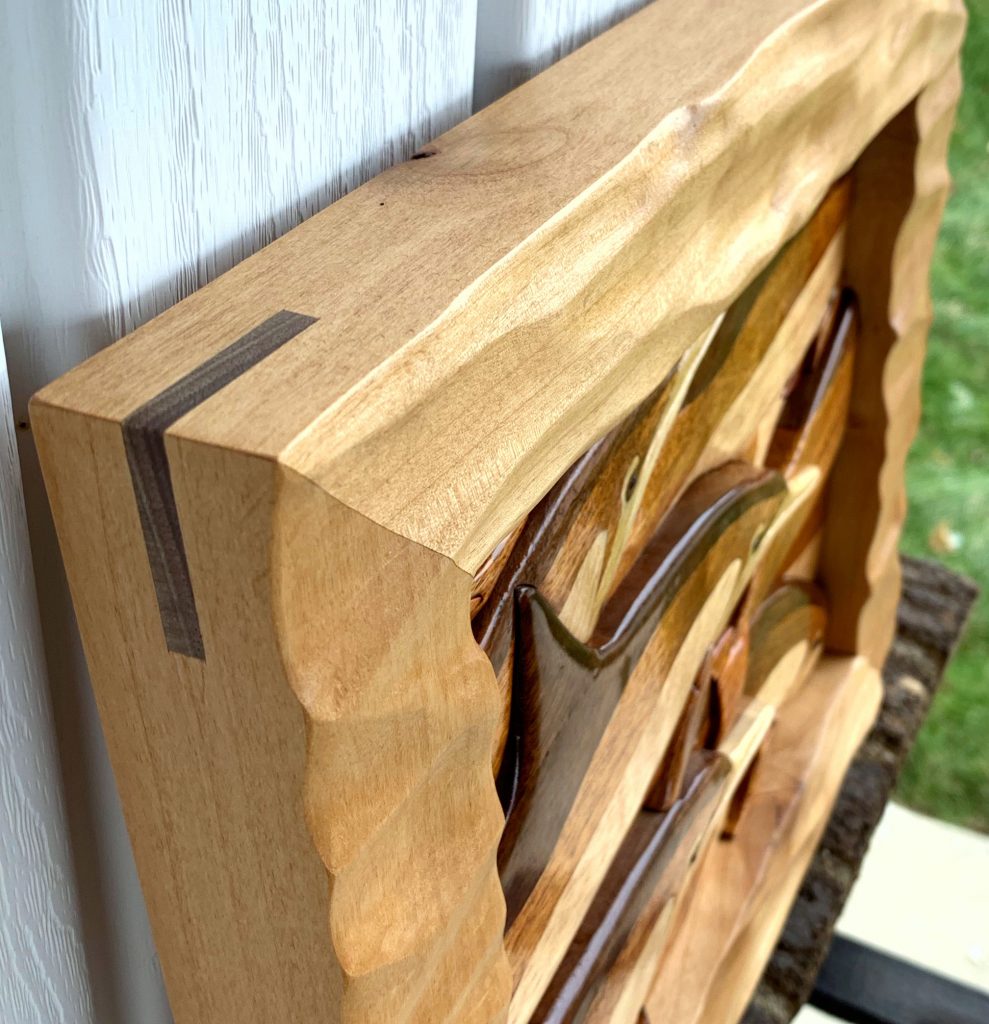
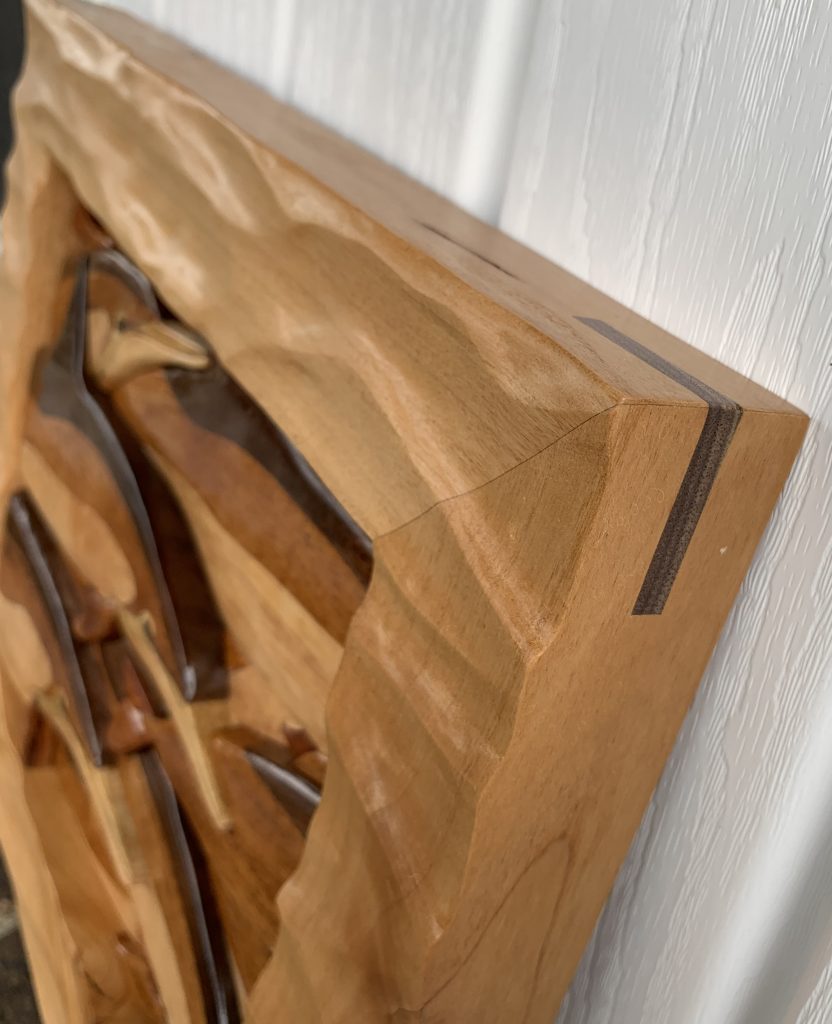
I built this mostly from a rare find: an exotic shipping pallet from my workplace containing what looks to be mahogany (or something related) and other unknown species. It also contains black walnut on their backs, and tiny ebony wood eyes (those were a scrollsawing challenge!). The frame is power-carved alder (thanks @mpi_woodworking) with walnut splines.
I generally avoid shipping pallets for most everything. They’re a pain to break down, can ruin planer and saw blades, and can sometimes pose health hazards (this one was only heat treated). But when all you need are small pieces with a variety of colors and grain patterns, I’ve found them to come in quite handy when I’ve stumbled upon a couple good ones.