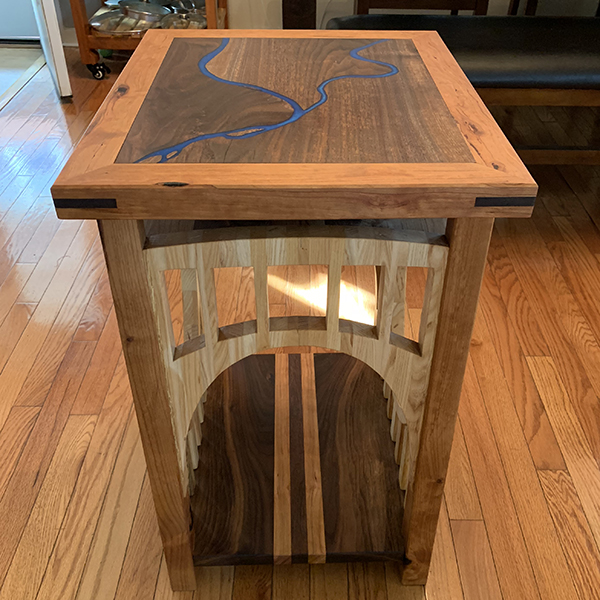
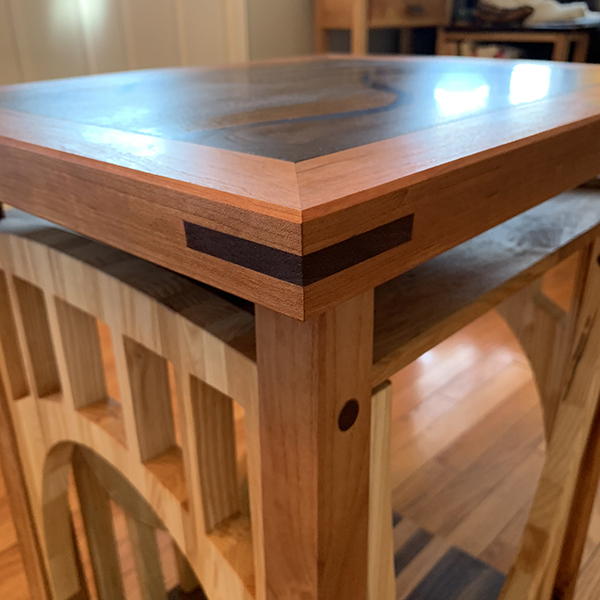
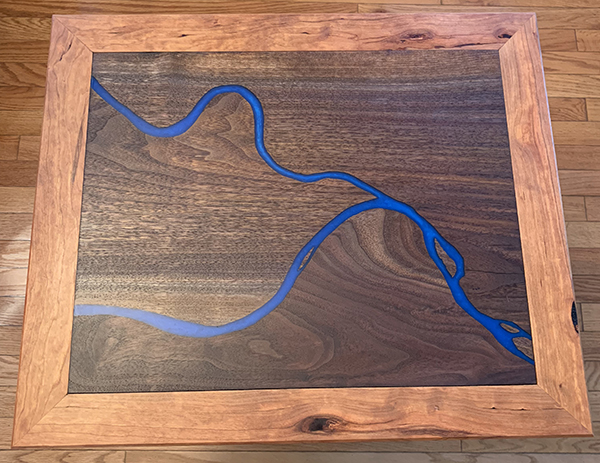
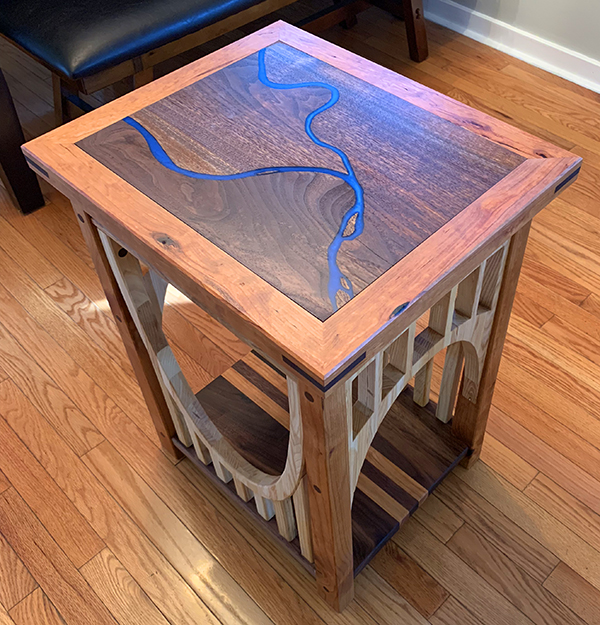
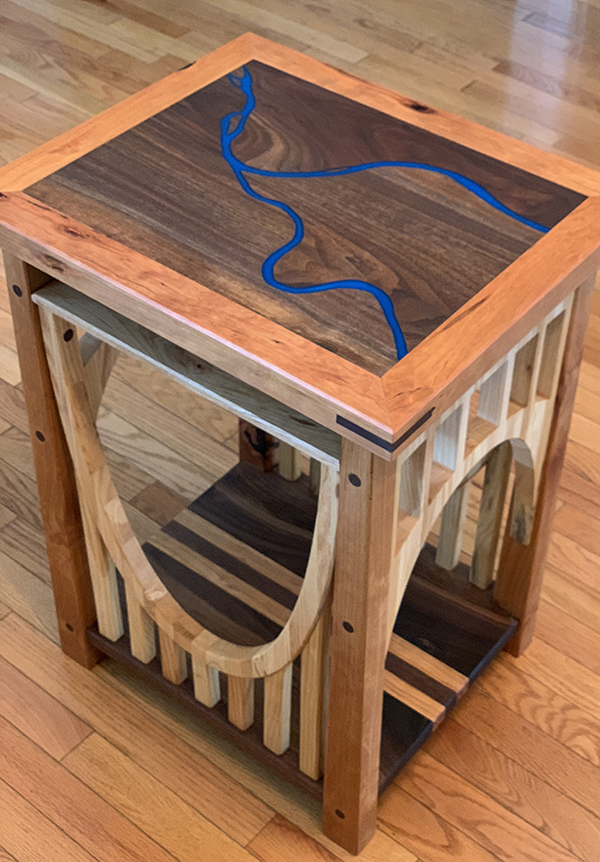
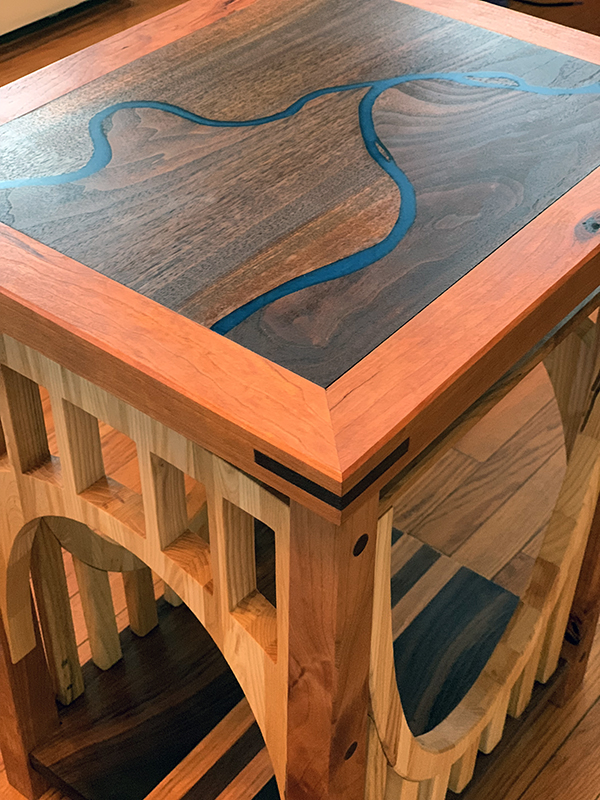
Almost three months in the making, and I have to say I’m incredibly excited with how this turned out. A year or two back I began thinking about making a Pittsburgh-themed table after seeing the always-inspiring @john_malecki make a table with a PGH-inspired base. I made the first design in SketchUp and then went through several rounds of changes after realizing that my design had poor structural integrity or was just too difficult to pull off. For those of you who don’t know, the top is a mostly to-scale map of Pittsburgh, with the confluence of the Allegheny and Monongahela Rivers creating the Ohio River. The table base is very roughly inspired by one of our famous bridges, the Roberto Clemente Bridge. The top is walnut and cherry, with @westsystemepoxy_ and “Eye Candy dark ocean blue” pigment for the rivers. Thanks to advice from my brother-in-science AND woodworking, Paul Jasper, Ph.D. (@copper_pig_fine_woodworking) I managed to install the walnut map center into the cherry frame using floating tenons. Paul literally drew the idea for me on a notepad through IG video chat. If he hadn’t suggested this, the whole top would probably have busted apart from seasonal wood movement. The legs are made from alder given to me for free by Matt Plazek (@mpi_woodworking) after I purchased some black walnut from him. The front and side arches are ash. The bottom shelf is walnut and cherry. The partially hidden shelf under the top is made from the cherry/maple pallet I found at work a few weeks ago. Walnut dowels we’re used throughout for support. I wanted the final look to be very natural with little sheen and no thick coat. So I went with the new Simple Finish oil and wax by @makerbrandco, deciding to give their stuff a try after hearing them on the @madeforprofitpodcast. The look and feel is perfect! In the end, my wife @tam_a_ryn says she loves the table – and that’s all that matters to me.